- A tile is seamless when its left edge continues its right edge, and its top continues its bottom.
- The offset method moves seams to the center, where you can repair them by hand.
- Seams are easy to fix. Repeating landmarks are the harder problem.
- Test every tile in at least a 3×3 grid, at several zoom levels.
What makes a texture tile
A tile repeats edge to edge. For the repeat to look continuous, the pixels on the right edge must flow into the pixels on the left edge. The bottom edge must flow into the top edge in the same way. If either pair breaks, you see a grid of lines.
Three properties decide whether a texture is a good tile candidate:
- Even lighting. A gradient from one corner to another cannot repeat. Each copy would be darker on one side than the next copy begins.
- Uniform detail. Fibers, grain or noise spread across the whole frame tile well. A single large crack or knot does not.
- Flat perspective. The surface must be shot or drawn straight on. Any perspective makes lines converge, and converging lines cannot meet themselves at the edges.
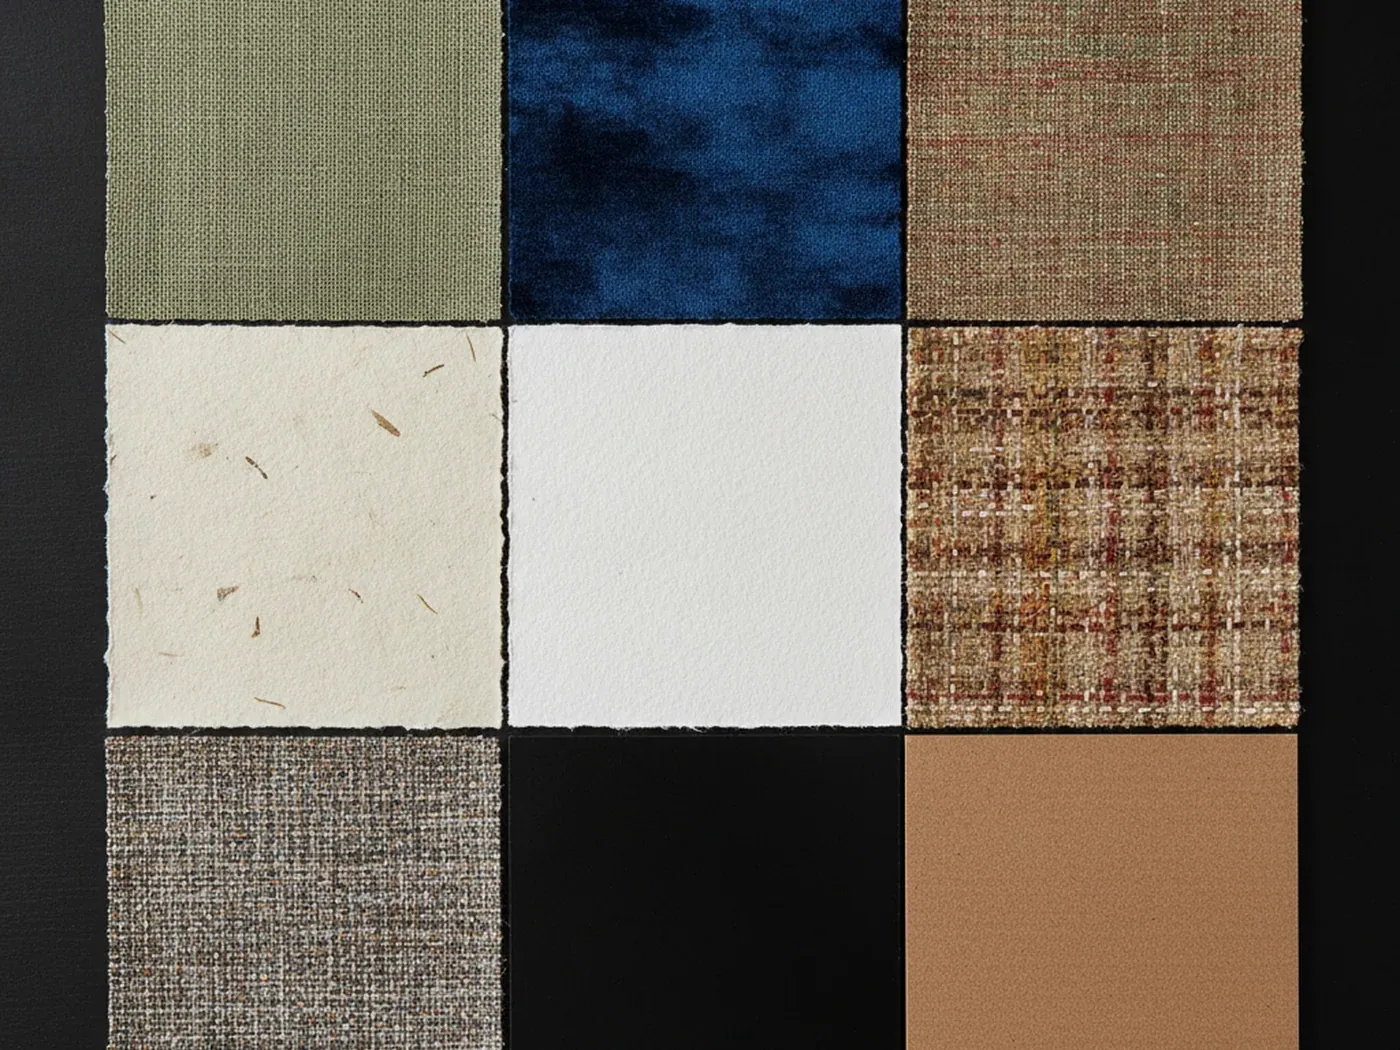
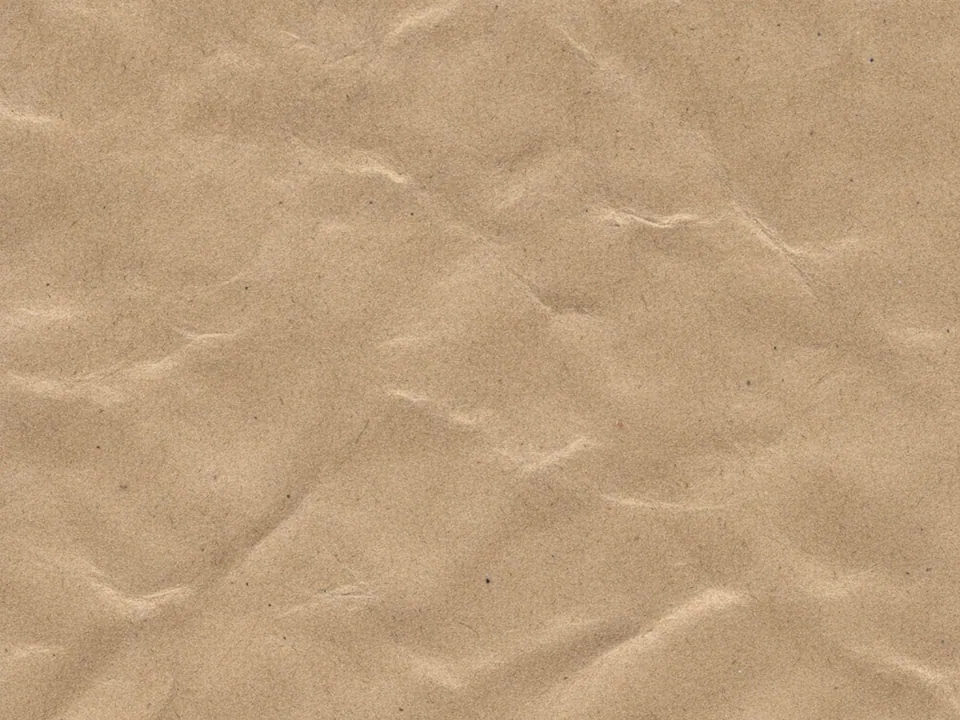
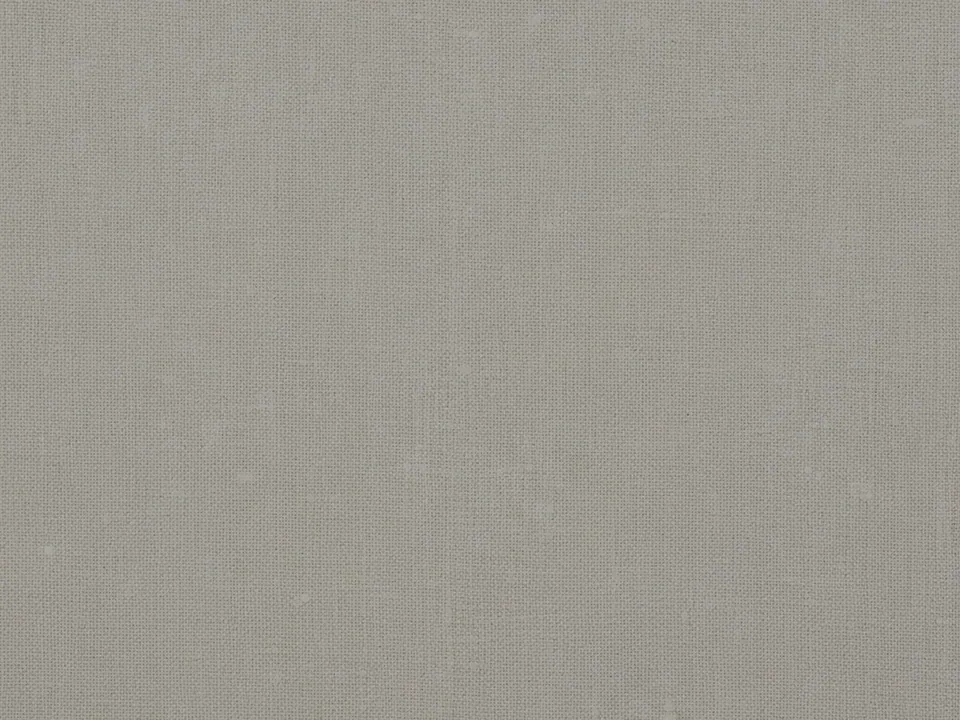
Paper, fabric and fine surfaces are natural candidates. A kraft paper texture or a linen fabric texture has small, evenly spread detail. A photo of a landscape or a 3D render with a light source has neither.
Large photographic backgrounds are usually made to cover an area once, not to tile. Before you set background-repeat: repeat on any image, check its edges.
The offset method
The offset method is the standard way to make a tile seamless. It works in any image editor that can wrap pixels around the canvas edges.
- Crop the texture to a square or rectangle with even lighting. Correct any brightness falloff first.
- Offset the image by half its width and half its height, with wrap around enabled. The original edges now meet in a cross through the center.
- Repair the cross. Clone or heal detail from elsewhere in the tile over the hard lines. Work with soft brushes and sample from varied spots.
- Offset by half again to return to the original position, or leave it. Either way, the outer edges now match, because they were neighbors before the first offset.
- Test the result in a grid before you export.
The reason it works is simple. After the offset, the outer edges of the canvas are pixels that sat next to each other in the source. They already continue. All the broken joins are inside the canvas, where you can see and fix them.
Keep the repair subtle. Heavy cloning leaves soft, smeared patches that read as a blur in the middle of a sharp texture. Sample from several areas, match grain size, and stop once the cross disappears at normal viewing distance.
Edge seams and how to spot them
Seams come in a few forms. Each one has a different cause and fix.
| Seam type | Cause | Fix |
|---|---|---|
| Hard line | Edge pixels do not continue | Offset method and cloning |
| Brightness step | Uneven lighting across the tile | High pass or large blur subtraction to flatten tone |
| Color shift | White balance drifts across the source | Match color on both halves before offsetting |
| Thin gap | Scaling to a fractional pixel size | Export at whole pixels; avoid odd scale factors |
The brightness step is the most common problem. Your eye forgives a small break in grain but not a change in tone. It reads as a checkerboard at a distance. Flatten the tone before anything else.
Thin gaps can also come from the browser. When a tile is scaled to a size that does not land on whole device pixels, a hairline may appear between copies. Keep background-size values that divide cleanly into the screen's pixel grid.
Repetition patterns
A tile can have perfect edges and still look fake. The eye finds repeating landmarks fast: a dark spot, a bright fiber, a distinctive knot. Once it finds one, it sees the grid everywhere.
To reduce visible repetition:
- Remove or tone down any feature that stands out from the rest of the tile.
- Use a larger tile. A 1024 px tile repeats less often on screen than a 256 px tile.
- Layer two tiles of different sizes. Their combined pattern only repeats at the least common multiple of both sizes.
- Lower the contrast of the texture so details carry less weight.
The layering trick is cheap in CSS. Two layers with sizes such as 300 px and 220 px produce a combined pattern that repeats every 3300 px, which is wider than most screens.
.surface {
  background-image: url("grain-a.png"), url("grain-b.jpg");
  background-size: 300px 300px, 220px 220px;
  background-repeat: repeat;
}
The top layer should be a PNG with partial transparency, or the bottom layer will not show through.
background-repeat: round and space
CSS gives you two values that adapt the tile to the box.
round scales the tile so that a whole number of copies fits the box. No copy is cut at the edge. The tile is stretched or squeezed slightly to make the count work, so its aspect ratio can change. If the other axis keeps an auto size, it scales with it and the ratio holds.
space keeps the tile at its size and repeats as many whole copies as fit. The leftover room is spread evenly between the copies. The first and last copies touch the edges. If only one copy fits, it is placed according to background-position.
For a continuous texture, space is usually wrong, because the gaps break the surface. It suits icon patterns and decorative motifs, such as a scattered memphis pattern. round suits borders and frames where a cut tile at the corner would look broken.
Testing a tile before you ship
Never judge a tile on its own. Judge the repeat. A short routine catches most problems:
- Fill a large canvas or a test page with at least a 3×3 grid of the tile.
- Look at it at 100% zoom, then zoom out to see the whole grid. Seams hide up close; patterns show from far away.
- Squint, or apply a strong blur. Tone steps and repeating spots become obvious.
- Check on a high density screen. If the tile looks soft, export it at 2x size and set
background-sizeto half its pixel dimensions. - Put real content on top. A texture that looks fine empty may fight with text.
Pick the right format
The file format affects both quality and weight. Choose by content, not by habit.
- JPEG, WebP or AVIF for photographic surfaces like paper, wood and fabric. They compress grain well.
- PNG for flat graphics and for top layers that need partial transparency.
- SVG for geometric patterns. It stays sharp at any density and is often a few hundred bytes.
Lossy compression can create its own seam. Block artifacts near the edges of a JPEG may not match across the join. Export at a quality high enough that the edges stay clean, then check the grid again.
For texture inspiration and surfaces with even detail, browse background textures. Treat each file as source material, and run the checks above before you set it to repeat.